
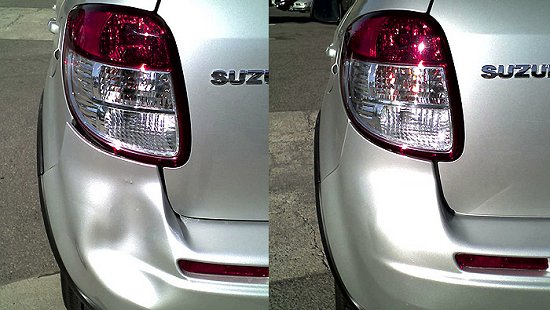
Having a car may not require daily maintenance, but when it needs some attention it is important to know how to take care of it. One of the most important parts of the car that suffers from dents and breaks in a collision is the bumper, which can be easily fixed in a few simple steps from the inside of your garage. Taking the car to a dealership or auto shop can be quite time consuming and often more costly than you think, so learning to do these kinds of repairs at home is a good skill to have. Here are the steps to replacing the bumper on your vehicle.
1. The first step is to take a flashlight and inspect the area behind and underneath the bumper. What you will be looking for is six lug nuts that are holding the bumper and the car together, and they should be able to be found without too much trouble.
2. Next, apply a lubricant such as WD40 onto those lug nuts to assist in loosening them up if they appear to be rusted or on extremely tight. Other lubricants will work as well, just as long as they come in an easy to use spray bottle. After you apply the WD40 or similar substance, allow the lug nuts to rest anywhere between three and five minutes as this will give it a chance to start working. After that time is up you can attempt to remove them.
3. Find a wrench or purchase one for this next step in the process. Using the wrench, turn each lug to the right to try and loosen it. At first this may prove to be difficult, but once you get them in motion they should come off fairly easily. After you have removed all six of the lug nuts, put them aside somewhere safe so they won’t get lost, as you will need them later on to attach your new bumper.
4. The next part will involve lifting the bumper off its original place. If you feel that you can’t safely do this on your own, ask a friend or family member to help you. Lift the bumper straight up from the car and put it onto the ground. As you do this, you will notice that the bolts attached to it will come up from the car as well. Don’t worry about this, as it is normal for them to stay attached to the bumper.
5. After the old bumper is put aside, carefully place the new bumper onto the same spot on the car. Once again, this may be heavier than you anticipate so it could be wise to have some assistance with the process. Carefully place the bolts from the old bumper into the new one and set it down in place. Make sure that all of the bolts go through all the holes just as they were with the older one.
6. Finally, locate the six lug nuts that you put aside and replace them back onto the bolt that they came off from. Using your wrench, tighten each one as needed until the bumper becomes secure and tight on the back of your car. Push down on the bumper once you believe the job was done successfully to make sure it is on well, and then discard your old bumper at a junkyard or trash collecting area.
Written by the staff of Custom Complete Automotive. Custom Complete is your go to solution for the best car repair, inspections and an oil change Columbia MO has to offer.