
Your car’s brake system is one of the most important parts of the vehicle because they are what allow you to safely get from place to place. Without a proper set of brakes,driving can be very dangerous since brakes are what control your ability to stop either suddenly or gradually. Taking your car to an auto shop is one option to get your brakes changed once they start squeaking, however it can be very cost effective to just do it yourself from home. This is a relatively easy job if you have the right tools, and here are the steps to guide you through the process.
1. The first step when changing your brake pads is to allow the vehicle to cool down, as working on one that has recently been running is bound to be extremely hot and dangerous to touch. Also, be sure that you have purchased the correct brake pads before starting the process, which can be done easily by going to any auto parts shop or the dealer for your vehicle.
2. Next, use the lug wrench along with your car’s jack to loosen each of the lug nuts on the wheels about two-thirds of the way. It is important to just do a couple wheels at a time, and most often it is the two front or the two back parts, depending on which brake pads you are changing first. Then, jack up your car until the tires can be taken off with ease.
3. Next, take off the caliper bolts with a socket. These bolts are located on the caliper itself, which is an over the brake rotor and serves as a type of clamp. This is the device that slows down the wheels, as they need to be while driving. Completely remove the caliper and hang it in an area where it won’t be disrupted during the rest of the replacement of the brakes process.
4. Next, take off the cap from the brake master cylinder. Inside the cylinder the brake fluid will get dirty from air particles and other dirt floating around as you are working with this area, so it is important to bleed the brake fluid before changing out the pads. Before going through with the bleeding part, make sure that the fluid is topped off to get the best and most effective cleaning. Leave the cap off the cylinder while bleeding out the brake fluid. In order to prevent the air from absorbing the fluid too quickly, use something like a small plastic hose for an aquarium to attach it to the cylinder nipple and leak into a bottle to dispense the contaminated fluid. Repeat this process until you don’t see any more bubbles from the fluid going into the bottle.
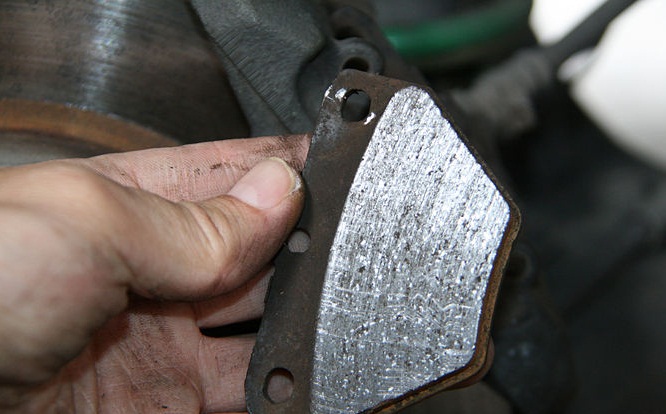
5. Now is the time to remove the old brake pads themselves. Generally speaking, they should snap off, as they are likely to be attached with metal clips. It might be slightly difficult to do at first, but with a little force they should come off in a popping fashion.
6. Next, put on your new brake pads. Applying some anti-seize lubricant onto the metal part of the pedals should help with this, and prevent it from making extra noise. Just make sure to avoid contact with any of the pads themselves and re-attach them.
7. Finally, check your brake fluid and put the caliper back on. Then, put the tires back on and tighten the lug nuts that you loosened to get them off. Start your vehicle and take your new brake pads out for a test drive.
Written by Marc Laferierre, owner of Dents Unlimited. Dents Unlimited is an auto repair shop in Columbia, MO where their expert staff can get your car back on the road in no time.